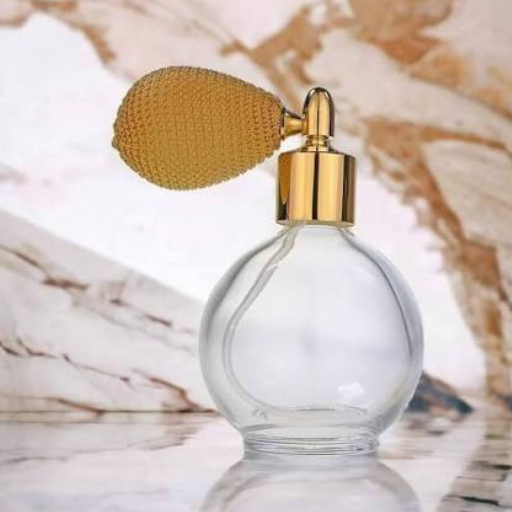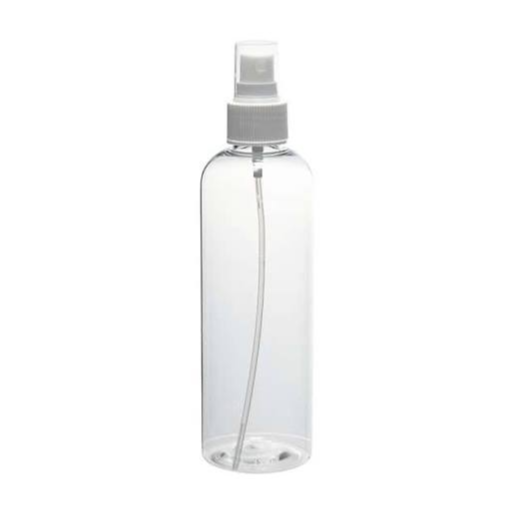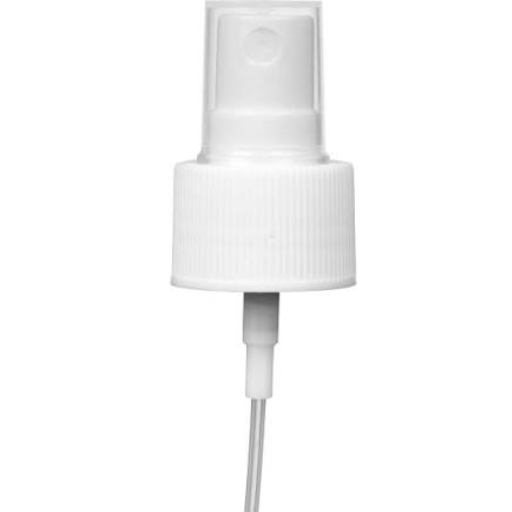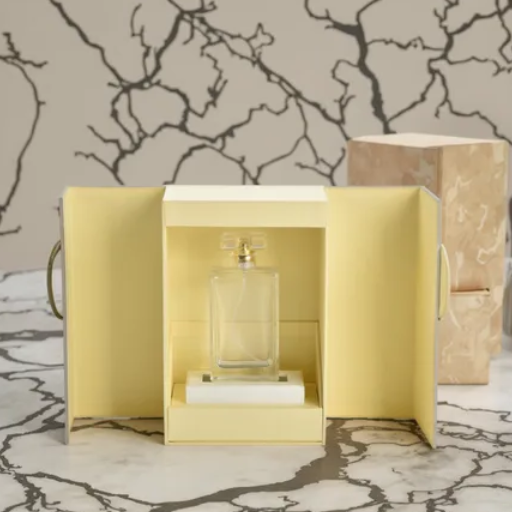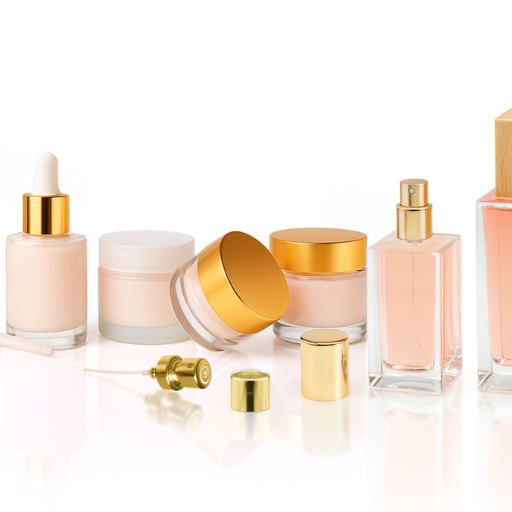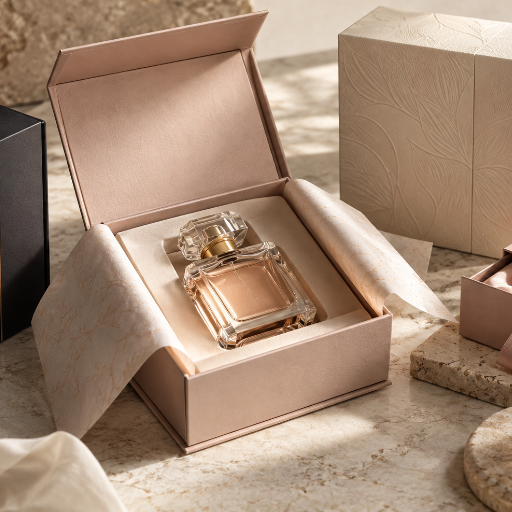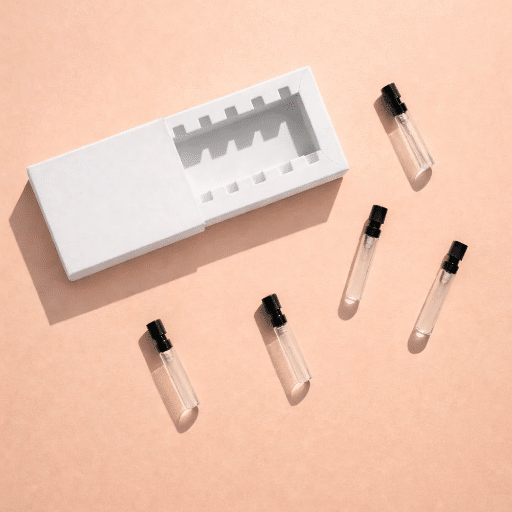
Custom tester bottles are small, sample-sized bottles (usually 1ml to 10ml) that a fragrance or skincare brand decorates with its own logo, color, and finish. You can brand them three ways: with direct printing on a stock bottle, with a custom closure and label, or with a fully custom mold. Which route is right for you comes down to order volume, budget, and how distinct the bottle needs to be.
When Amara launched her indie fragrance line last spring, she nearly spent $6,000 on a custom mold for a 2ml sample vial. Her manufacturer had quoted the mold as the only way to get a “premium” look. In reality, she could have used an off-the-shelf glass vial, frosted it, and hot-stamped her logo for a third of the cost. She’s not alone, and that’s the exact mistake this guide is built to prevent.
You likely already believe custom packaging should be expensive and complicated. It can be, but it doesn’t have to be. By the time you finish reading, you’ll know exactly which decoration method fits your budget, what MOQs to expect, and how to run your artwork through production without a costly redo.
Key Takeaways
- Decorate a stock bottle before you ever pay for a custom mold: it drops your MOQ from 10,000+ pieces to as low as 1,000 and cuts lead time in half.
- Screen printing is your workhorse for glass logos; hot stamping adds a metallic, luxury feel at a higher minimum.
- Custom logo MOQs range from 1,000 to 100,000+ pieces depending on the method, and per-unit costs run roughly 0.06to0.06to0.27 for 2ml to 10ml atomizers.
- The single biggest source of rework is skipping the pre-production sample: always approve a physical proof before mass production.
What Are Custom Tester Bottles?

Custom tester bottles are mini fragrance or skincare containers that carry your brand identity instead of a blank or generic look. They’re the vials, atomizers, and rollerballs customers try at a retail counter, receive in a discovery set, or unbox from a subscription shipment.
Most brands don’t realize that “custom” is a spectrum. On one end, you take a standard stock bottle and add your logo through screen printing or a label. On the other, you commission a brand-new mold so the bottle’s very shape is yours. The middle ground, a stock body with custom color and closure, is where most successful launches actually land.
For the fuller picture of formats, materials, and use cases, see our complete guide to perfume tester bottles. This article focuses on the branding and decoration layer specifically.
Stock Bottles vs. Custom Molds: The First (and Biggest) Decision
Before you pick a decoration method, you have to pick a bottle. This one choice drives your MOQ, your cost, and your timeline more than anything else.
A decorated stock bottle uses an existing mold. You add your logo, color, or finish to a shape the factory already produces. MOQs start around 1,000 to 5,000 pieces, lead time is short, and you pay no mold fee. The tradeoff is that other brands can use the same shape.
A semi-custom bottle takes a stock body and pairs it with a custom closure, color, or finish. This gives you distinctiveness without a full mold investment, typically at 3,000 to 10,000 pieces.
A full custom mold builds a unique shape from scratch. MOQs start at 10,000+ pieces, a mold fee applies, and lead time stretches to 25 to 45 days or more. It’s the right move only when the bottle’s silhouette is central to your brand.
| Approach | Typical MOQ | Relative cost | Lead time |
|---|---|---|---|
| Decorated stock bottle | 1,000–5,000 | $ | 15–25 days |
| Semi-custom | 3,000–10,000 | $$ | 25–35 days |
| Full custom mold | 10,000+ | $$$ | 25–45+ days |
The team at North Coast Botanicals learned this the hard way. They ordered 10,000 custom-molded 5ml bottles for a skincare serum launch before validating demand. When the line sold through at half the projected rate, they were sitting on 6,000 branded bottles they couldn’t repurpose. A decorated stock vial would have let them test the market first and scale the mold later.
Rule of thumb: decorate a stock bottle first. Invest in a mold only once you’ve proven the product sells.
Decoration Methods for Custom Tester Bottles
Here’s the part most buyers ask about: how do you actually get your logo onto a tester bottle? These are the seven main methods, from most affordable to most premium.
- Custom labels. Printed or clear-film labels are the lowest-barrier option, with MOQs as low as 500 to 1,000. They’re ideal for startups and test runs but can peel or yellow over time.
- Screen printing (silk-screen). The workhorse for glass. Ink is applied directly to the bottle for a durable, integrated look. Cost-effective at 5,000+ pieces, typically one to four colors.
- Frosting. Acid-etching or spray frosting gives a matte, premium feel. It’s popular for sample vials that need to feel more expensive than they are.
- Color coating and electroplating. A solid brand color or a metallic coating applied to the bottle body, matched to Pantone. Great for building a signature brand color.
- UV coating. A clear gloss or matte topcoat that adds durability and a finished look on top of printing.
- Hot stamping. Metallic foil (gold, silver, rose gold) pressed onto the bottle for a luxury logo. Higher cost, higher minimum, unmistakably premium.
- Laser engraving. A permanent, high-precision mark. Ideal for small runs, monograms, and premium lines where precision matters.
Your choice depends on material, volume, and positioning. Glass takes screen printing, frosting, and hot stamping beautifully. Plastic is better suited to labels and color coating. Aluminum works well with laser engraving and anodized finishes.
Want to see these finishes on real glass and see which holds up for your formula? Request a free sample from our team, and we’ll ship decorated testers for you to compare.
Color Matching and Finish Selection

Color is where a custom tester bottle stops looking generic and starts looking like yours. Most manufacturers match to Pantone (PMS) codes, so you can hold your bottle next to your brand palette and get an exact match.
Finish shapes perception more than most brands expect. A clear finish reads clean and honest. Frosted reads premium and tactile. Matte feels modern, glossy feels polished, and a metallic or tinted finish adds depth. If your fragrance is light-sensitive, amber or colored glass protects the formula from UV while still carrying your branding.
Here’s a quick way to think about it: if you’re competing on value, a clear or matte bottle with a screen-printed logo is enough. If you’re competing on luxury, frost the glass and hot-stamp the logo in metallic foil. The finish you choose signals your price point before a customer ever sprays it.
For a deeper look at how the bottle material itself affects the look and the formula, read our glass vs. plastic tester bottles comparison.
Closures, Caps, and Applicators
The closure is the part customers touch first, so it deserves real attention. For tester bottles, you’re usually choosing between:
- Crimp-neck sprayers (FEA13/FEA15). The standard for alcohol-based fragrance. They deliver a fine mist and are what most perfume testers use.
- Screw-neck caps. Simple, secure, and cost-effective for oils and serums.
- Roll-on balls. Best for oil-based scents and travel application.
- Dip tubes and pump sprayers. For thicker formulas that need a controlled dose.
The closure also has to match your formula. Alcohol-based fragrances need a crimp-neck spray with a tight seal, while oil-based products often do better with a roll-on or screw cap. Branding the closure itself, a colored cap or a metallic actuator, is a low-cost way to make even a stock bottle feel bespoke.
Custom Tester Bottle Sizes and Their Branding Use Cases
Size changes both the use case and the decoration surface you have to work with.
- 1ml to 3ml vials are the discovery-set standard. Small surface area means a simple screen-printed logo or a label works best.
- 5ml to 10ml bottles give you more room for a full logo and are common for travel sprays, counter samples, and subscription boxes.
- 50ml to 100ml testers are the full-size counter displays at department stores, where hot stamping and custom caps justify their cost.
When Marcus built a five-bottle discovery set for his unisex fragrance, he used 2ml stock vials, frosted them, and screen-printed a single-word logo. The set looked cohesive, shipped in three weeks, and cost under $0.30 per finished vial. That’s the power of matching the decoration method to the size and use case.
For more on sizing across every format, see our perfume sample bottles guide.
What Custom Tester Bottles Cost: MOQs and Pricing by Method
Cost is where most brands get surprised. The good news is that the numbers are more predictable than people think.
Representative per-unit prices for custom tester bottles, drawn from current supplier listings like Jarsking’s custom mini sample bottles, run roughly 0.06to0.06to0.27 for 2ml to 10ml atomizers, 0.08to0.08to0.09 for plain glass vials, and 0.61to0.61to0.80 for larger luxury testers. Volume drops the unit price sharply, and many factories offer free or low-cost pre-production samples.
The hidden cost drivers are fewer than you’d think: the number of print colors, any mold fee, color matching, and proofing. Here’s how MOQ tiers typically break down by method.
| Decoration method | Typical MOQ | Relative cost | Best for |
|---|---|---|---|
| Custom label | 500–1,000 | Low | Startups, test runs |
| Screen printing | 1,000–5,000 | Low–mid | Logos and type on glass |
| Frosting | 3,000–5,000 | Mid | Premium matte finish |
| Color coating | 3,000–5,000 | Mid | Signature brand color |
| Hot stamping | 5,000+ | Mid–high | Metallic luxury logos |
| Custom mold | 10,000+ | High | Unique shapes |
To bring per-unit cost down, order more at once, use fewer print colors, or pair a stock body with a custom closure instead of a custom mold. For the full procurement economics, our wholesale tester bottle pricing guide walks through MOQs, Incoterms, and supplier vetting in detail.
From Artwork to Production: The Workflow That Prevents Rework

The most expensive mistakes in custom tester bottles happen before a single bottle is made. A clean workflow avoids them.
First, prepare your artwork correctly: vector files (AI or EPS) with outlined fonts and exact PMS colors. Curved and small bottles have tight print areas, so your manufacturer will supply a dieline showing exactly where the logo fits.
Second, approve a digital mockup. Then, and this is the step that saves real money, approve a physical pre-production sample before mass production. On that sample, check registration (is the logo centered?), color match, adhesion, and finish quality.
Aria skipped this step once. She approved a digital proof of a 10,000-bottle order, and the screen-printed logo came back a full two millimeters off-center. Because she hadn’t signed off on a physical sample, the entire run had to be redone, adding six weeks to her launch. One physical proof would have caught it for the cost of a courier shipment.
This discipline is part of the same quality control we cover in how perfume bottles are made. External auditors like Asia Quality Focus recommend exactly this pre-production sampling step for cosmetic packaging.
Frequently Asked Questions
How do I put a logo on a perfume tester bottle?
The most common ways are screen printing, hot stamping, frosting, color coating, UV coating, laser engraving, or applying a custom label. The right method depends on your material, volume, and budget.
What is the MOQ for custom tester bottles?
It depends on the method. Custom labels can start around 500 pieces, screen printing around 1,000 to 5,000, and a full custom mold at 10,000 pieces or more.
How much do custom tester bottles cost?
Roughly 0.06to0.06to0.27 per piece for 2ml to 10ml atomizers, and 0.61to0.61to0.80 for larger luxury testers, with volume discounts available.
What’s the difference between screen printing and hot stamping?
Screen printing applies ink directly to the bottle and is cost-effective for logos. Hot stamping presses metallic foil onto the surface for a premium, luxury look at a higher cost and minimum.
Can I get custom colors for my tester bottles?
Yes. Most manufacturers match bottle color to Pantone codes, and you can specify finishes like frosted, matte, glossy, or metallic.
Do I need a custom mold, or can I decorate a stock bottle?
Most brands start by decorating a stock bottle, which is faster and cheaper. A custom mold is only worth it when a unique shape is central to your brand.
Conclusion
Custom tester bottles don’t have to be complicated or expensive. The whole decision comes down to a few clear choices: decorate a stock bottle before you pay for a mold, pick a decoration method that matches your material and positioning, and match your color and closure to the price point you want to signal.
Approach it in order. Choose your bottle, choose your decoration, specify your color and finish, then run your artwork through a physical proof before production. Brands that follow this sequence launch on budget. Brands that skip the proofing step pay for rework.
If you’re ready to brand your tester bottles, get a quote from Fuzhou Longlu Packaging. We’ll help you choose the right method, hit the right MOQ, and ship you a decorated sample before you commit to a full run. Your customers already love the scent; give them a bottle worth remembering.